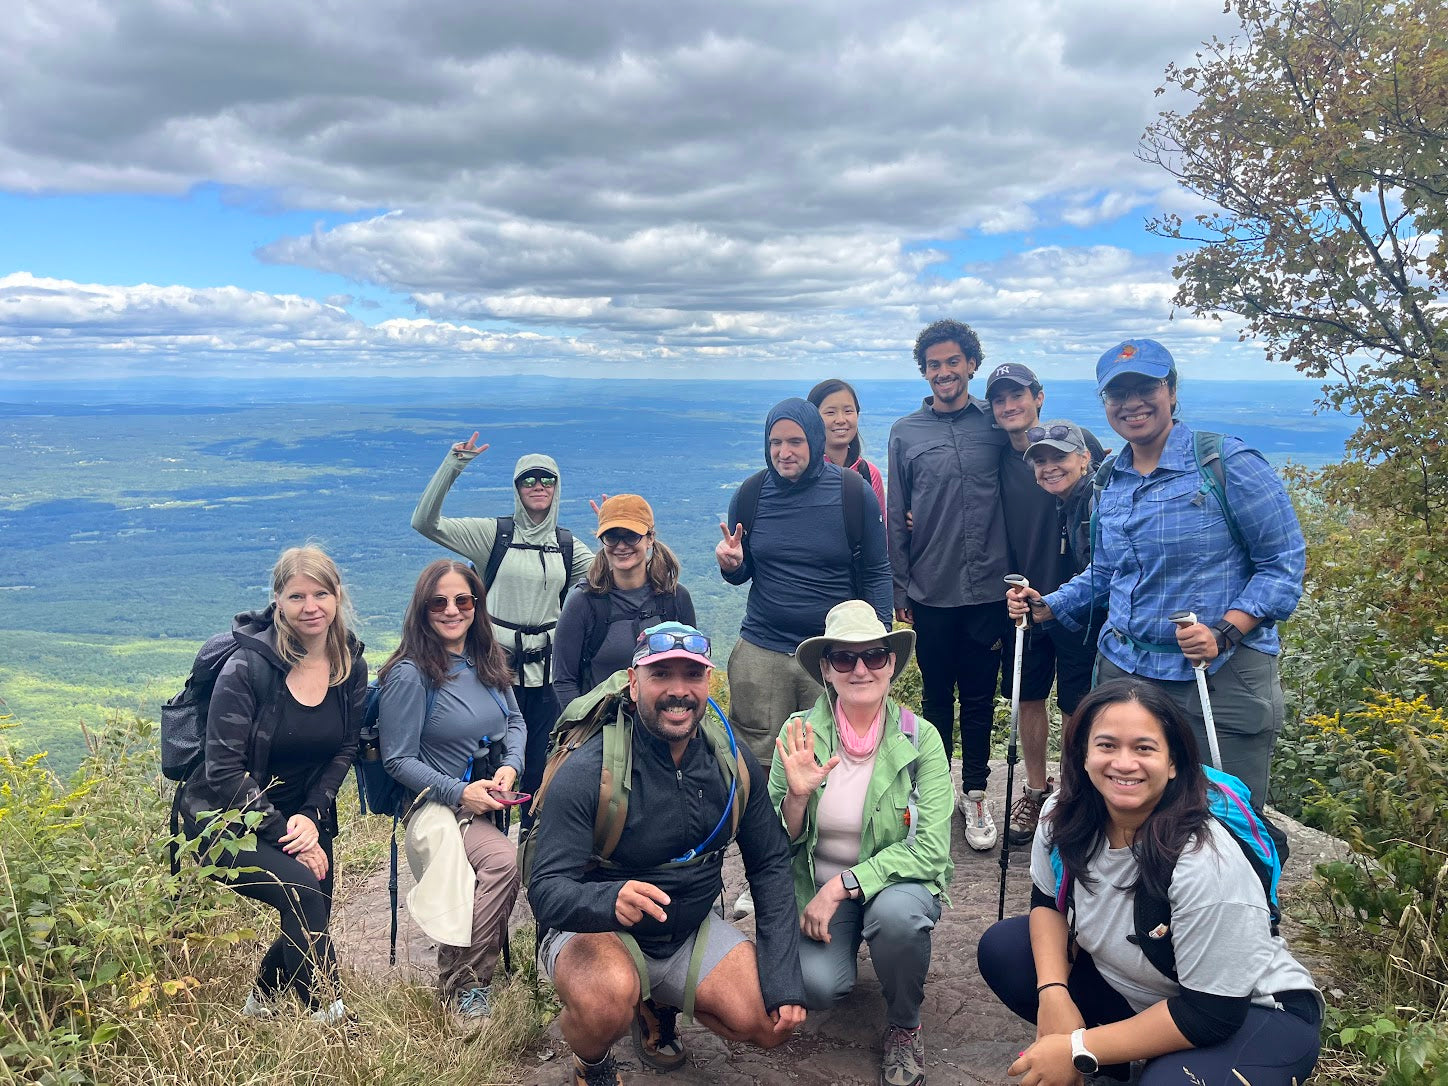
Our top 5 tips for winter hiking and backpacking

1) Layer, layer, layer.
We’ll cover this again in our upcoming article on what to wear for winter hiking, but nothing is more important than layering. Most people think this means bundling up so you have enough insulation between you and the cold. This is true, but the other, equally important aspect of layering is being able to take layers off while hiking.

This is how almost all of our winter trips start: everyone emerges from the van wearing almost every single layer they’ve brought: hat, gloves, base layer, down jacket, scarf, etc. while the guides are wearing a light base layer. Everyone thinks we’re crazy while we shiver in the parking lot and they’re toasty warm. Then, five minutes into hiking, we stop and everyone starts taking off layers until they’re down to their base layers as well. This is exactly how layering works, and it’s totally up to you if you want to start warm and strip down, or if you prefer to shiver a little and warm up on-trail, just make sure you don't start warm and then get overheated. Here's why.
I can’t tell you how many times we see people hiking with red faces, sweating like crazy, but they think they have to keep all of their layers on or they’ll get cold. Quite the opposite. Sweat is your worst enemy in the winter. I’m going to put this on a single line to make it crystal clear:
You lose heat 25x faster when wet.
Not 25% faster, 25x faster. This means that when you keep all of your layers on when you’re sweating, the second you stop, that wet layer right next to your skin is going to pull all of the heat from your body and you’ll be freezing cold in a minute. De-layer and re-layer as you get warm and cold. Take breaks. Winter hiking is a lesson in patience and self-regulation.

A further tip: make sure you are warm before you get in your sleeping bag. Sleeping bags are made to insulate, so if you’re warm, you’ll stay warm. If you’re cold, you’ll stay cold. If you are having difficulty warming up before bed, do crunches in your sleeping bag until you’re warm. We typically change into our overnight clothes about half an hour before bed to make sure we’re thoroughly warmed by the fire first.
2) Eat a LOT.
In the winter, your body burns double the calories of normal hiking: calories for activity and calories to keep you warm. This means that it’s essential to eat a LOT while you’re in the woods to stay warm. Every year I’m shocked by how frequently I stop to eat while processing firewood, on trail, and in camp. If you’re gathering firewood or hiking and you start to feel cold and shivery, you need to stop immediately and eat. We always keep a few Snickers bars in our pockets on winter overnights for quick, easy calories, we pack a ton of extra snacks, and we also make a warm lunch and hearty dinner. Warm beverages and foods not only give you comfort in the cold, they actually increase your body temperature. We consider hot beverages to be essential on all of our winter trips, day hikes and overnights.

Do you have a weight loss goal for the new year? You will double your calories burned and cardio output by ditching the gym and going hiking instead (learn more in our article on the health benefits of winter hiking), so don’t worry about eating a lot on your winter trips and definitely don’t skip on calories while in the woods. Your body will burn those calories. Plus, your metabolism stays up after the hike—for another 48-72 hours your metabolism will be 15-25% higher. In other words, the pounds will more or less melt off, but while you’re in the woods, you need those calories to stay warm.
3) Remember: everything freezes
A very typical first winter hiking and backpacking mistake is not realizing that the water in your water bottles—and your pump water filter—will freeze! The worst culprits tend to be in-pack water bladders with a line that connects to the outside of the pack. While these are great for keeping you hydrated in the warmer months, the line and the nozzle will freeze and you might find yourself with no access to your water, other than trying to pour water out of the bladder—not an easy feat and a pain to remove from a full pack. If your standard wide-mouth plastic water bottle freezes, don’t be afraid to hit the top against a rock to break up the ice frozen in the threads.

Here are a few easy ways to handle the freezing water problem:
- Melt snow for water. Snow can be considered filtered. Keep in mind that melting snow takes quite some time and a lot of fuel, so bring plenty of water. Snow also melts faster when you start with some water in the pot.
- Keep your water bottles in your pack. The water will not freeze as quickly in the insulation provided by the pack.
- Pros bring a metal water bottle that can be used to melt snow when placed adjacent to or in the fire. This is a great way to melt snow without wasting fuel, just make sure you have a wire attached to the bottle or tongs so you don’t spill the water in the fire and so you can get the bottle out of the fire safely
- Fill your water bottle with hot water at night and sleep with the water bottle in your sleeping bag. A few notes on this: you can only use water bottles that 100% do not have a leak and fasten securely. A soaking wet sleeping bag is literally potentially fatal in winter. The double benefit here is that the warm bottle warms your body and means you wake up with liquid water in the morning.
4) Things behave strangely in the winter, specifically stoves.
In winter, the enemies of stove performance are cold and dry. Canister stoves can be rendered useless in the winter because cold causes the pressure in the canisters drop and it’s impossible to add pressure to the self-contained system. There are a few hacks you can use, and stove design has improved to counteract this, but we prefer to not take the risk and stick with white gas (liquid fuel) stoves in winter.
To begin with, stoves address many of challenges winter creates: easily melt snow for water, make hot drinks, heat food and soup, etc. In other words, stoves help you stay hydrated and warm. I know I always feel better knowing I’m 15 minutes from hot cocoa at any time when I have a stove with me.

Preventing stove issues begins before you leave for your trip. Dry and cold winter air will crack the rubber seals on your stove and make them brittle, so you should always do a thorough gear check before you head to the woods, replace any seals that show signs of wear, make sure all the joints are thoroughly lubricated, and make sure the stove turns on without a problem (do this outside, not in your enclosed apartment, because carbon monoxide).
When you’re out in the woods, priming the stove will take more finagling and effort. When you prime your stove, you’re essential heating the coil so that the liquid fuel boils and vaporizes when it hits the coil. In the winter, the coil takes longer to heat and the gas will be colder, so the plate will require more heating and to a higher temperature. Further on that note, cold fuel does not go as far. We fully double the amount of fuel we bring in the winter vs. the summer. (You can see why it helps to have guides carry gear in the winter—it adds up quickly!) We almost always bring a backup stove in case of an emergency or gear failure.
Finally, an important note. White gas has a much lower freezing point than water and will remain liquid at very cold temperature. So if the temps reached -15F overnight, your fuel will also be -15F in the morning, which means that fuel touching exposed skin can lead to flash frostbite. Handle with care.
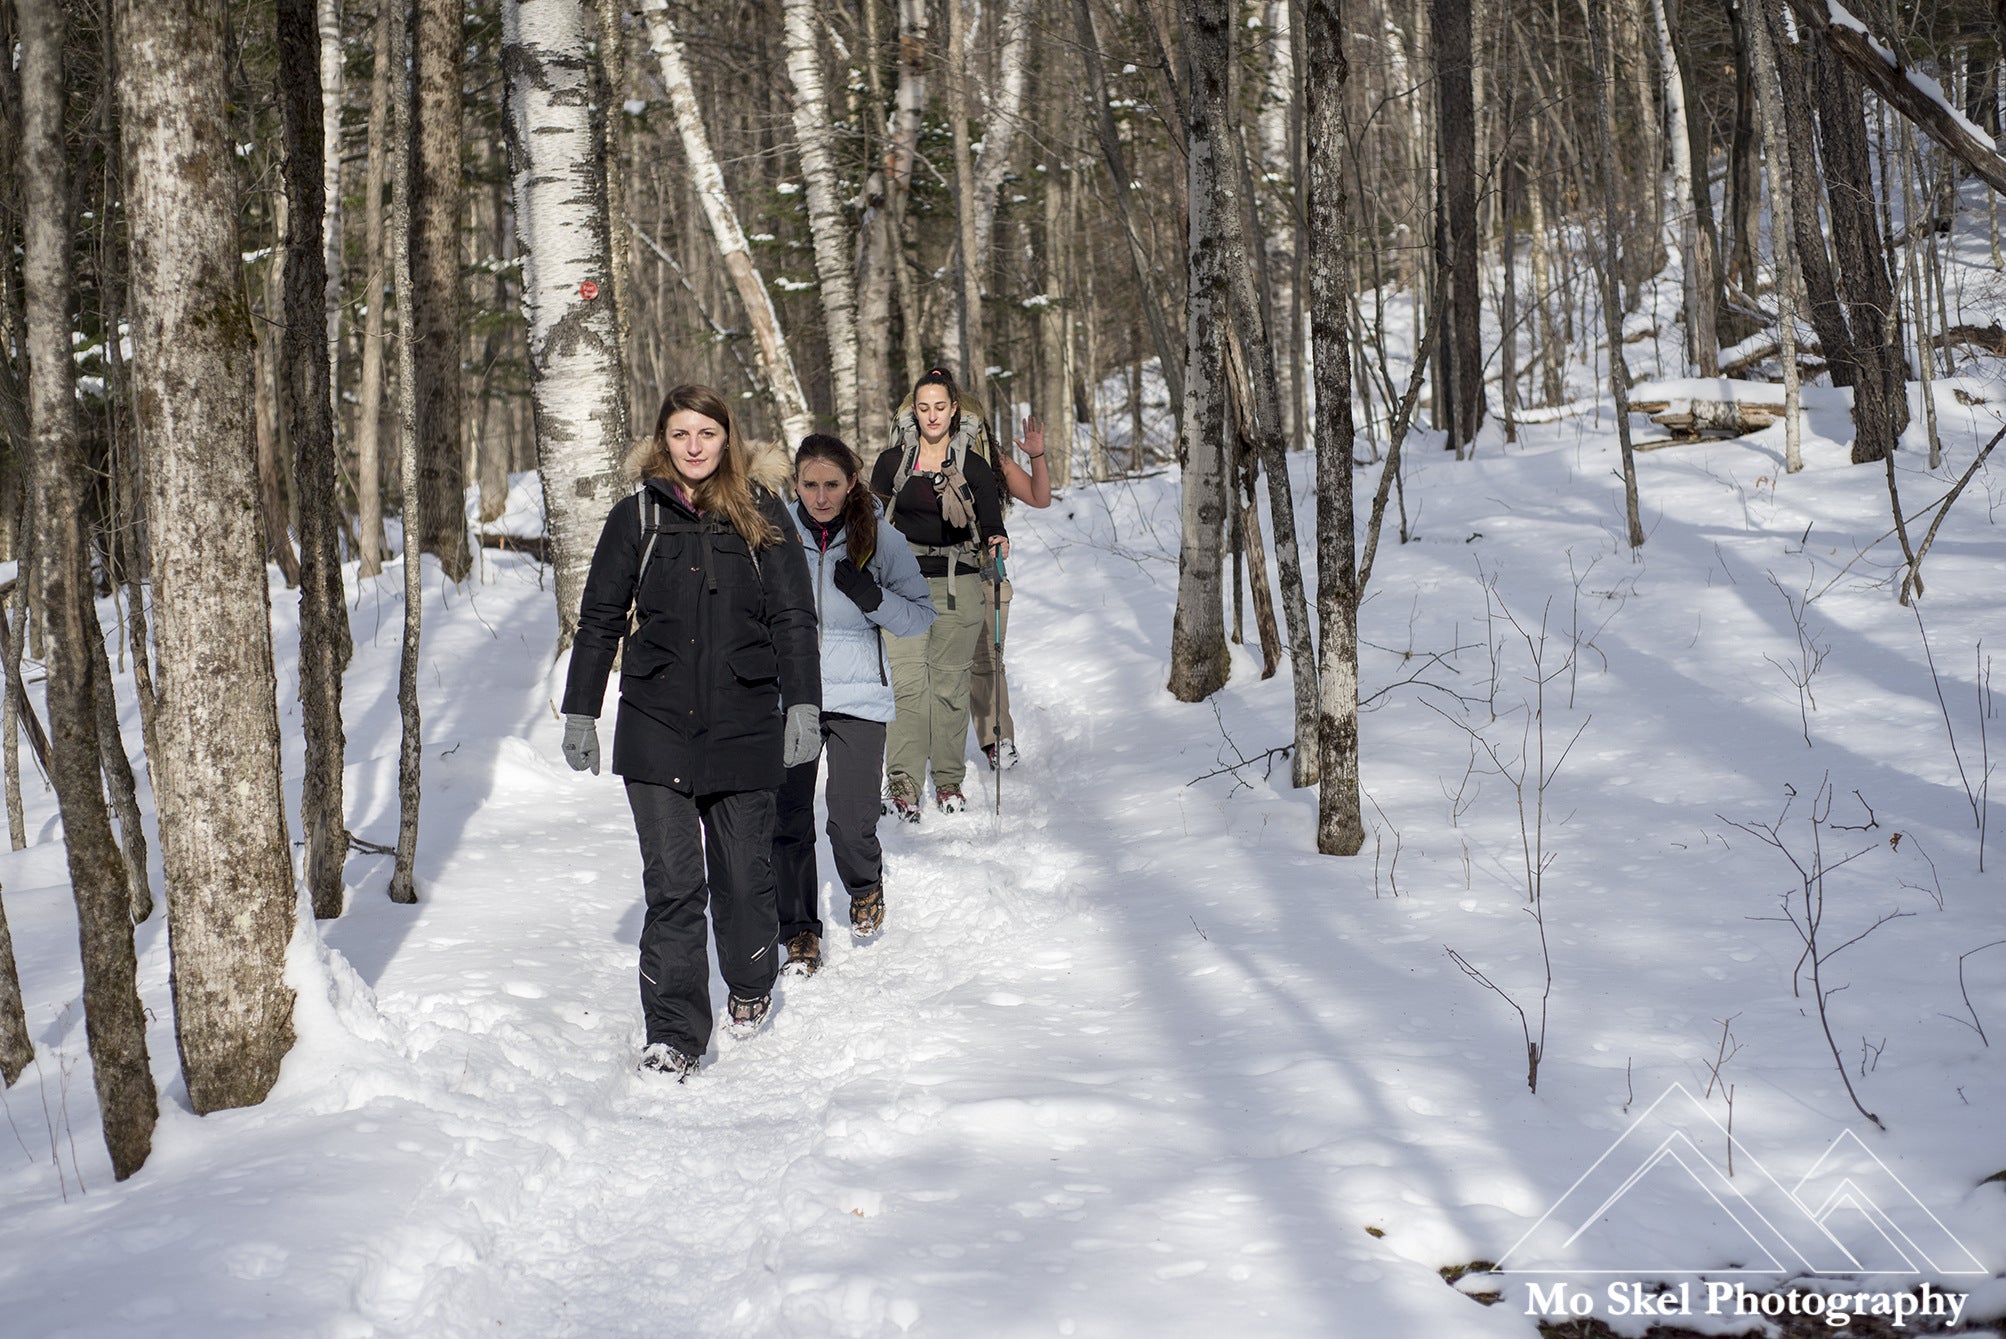
5) Traction vs flotation:
Winter hiking usually happens on one of two surfaces: ice or snow. When we say traction vs flotation, this means the type of trail you’re hiking on and the tools required.
Ice: Hiking on ice requires traction. The two standard tools for traction are microspikes and crampons. Microspikes are safe and easy to use, you simply pull them on over your boots. They’re sufficient for a trail that is a mix of dirt and gravel with ice. For hiking on straight ice, think after a freezing rain and on glaciers, you will need crampons, which are basically blades that strap on to your boots. Okay, I’m mostly kidding, but they are far sharper and do require care and attention when hiking.
With traction tools, your goal in hiking is to secure your microspikes or crampons in the ice, shift your weight to the leg that’s secure on the ice, then take a step forward. In other words, you’re focused on downward pressure and securing your spot before stepping again.
Snow: For snow, we refer to flotation, in other words, distributing your weight on snowshoes or cross country skis to “float” above the snow, rather than taking a step and sinking down to your thigh (as pictured below). This is called post-holing. It’s essential to buy or rent snowshoes when the conditions require as post-holing will degrade the trail, which can seriously injure people who are snowshoeing. It’s considered common courtesy and a safety issue, and makes hiking easier and safer for everyone when all hikers are on snowshoes.

Snowshoes are easy to use and master. The key to understanding snowshoes is thinking about the snowshoe as two pieces: the outer shell, which is static and distributes your weight so you don’t sink, and the center metal piece that is strapped to your boot, which is what allows you to move forward. Most beginners in snowshoeing try to lift the entire snowshoe as one piece connected to your foot, but in reality, you’re using your foot to push off the ground. See the animation below.


I personally find snowshoeing easier than hiking because you’re on even ground with no rocks or roots, plus you can glace (essentially slide) on the downhills (much easier on your knees!). Women often find snowshoeing easier than men because our hips are wider, so our snowshoes don’t overlap when walking, which can lead to tripping. Side note: walking backwards in snowshoes is just not a thing. Period. Especially at the summit.